After owning the Aristocrat for over a year, we've got a pretty good idea of where a lot of her deficiencies are. We had back to back weekends where we
a) weren't camping, and
b) were actually home
So I decided to take advantage of this time and fix something. Anything. I chose the rear trunk door, because it's been troublesome. And since we've also got some main entry door issues, I thought the trunk would be a good place to make all my mistakes before working on the main door. When we got the trailer, it had this nifty secondary latch installed, as seen below. Basically, a chunk of wire attached to one of the window screws, and the other end wraps around the door handle.
I enlisted my friend Joel's help for this, figuring I needed somebody to share the blame if it didn't work out. Below, Joel starts to remove rusty screws.
This view shows the door removed, and the channel where the door attaches. There is a length of wood that sits inside the channel that the door screws to, but it was half rotted away. This end shows the wood fragments that were left.
We then removed the lowest piece of skin that ran all the way across the bottom of the rear end. You can see it hanging down. It's actually two different pieces that meet in the middle.
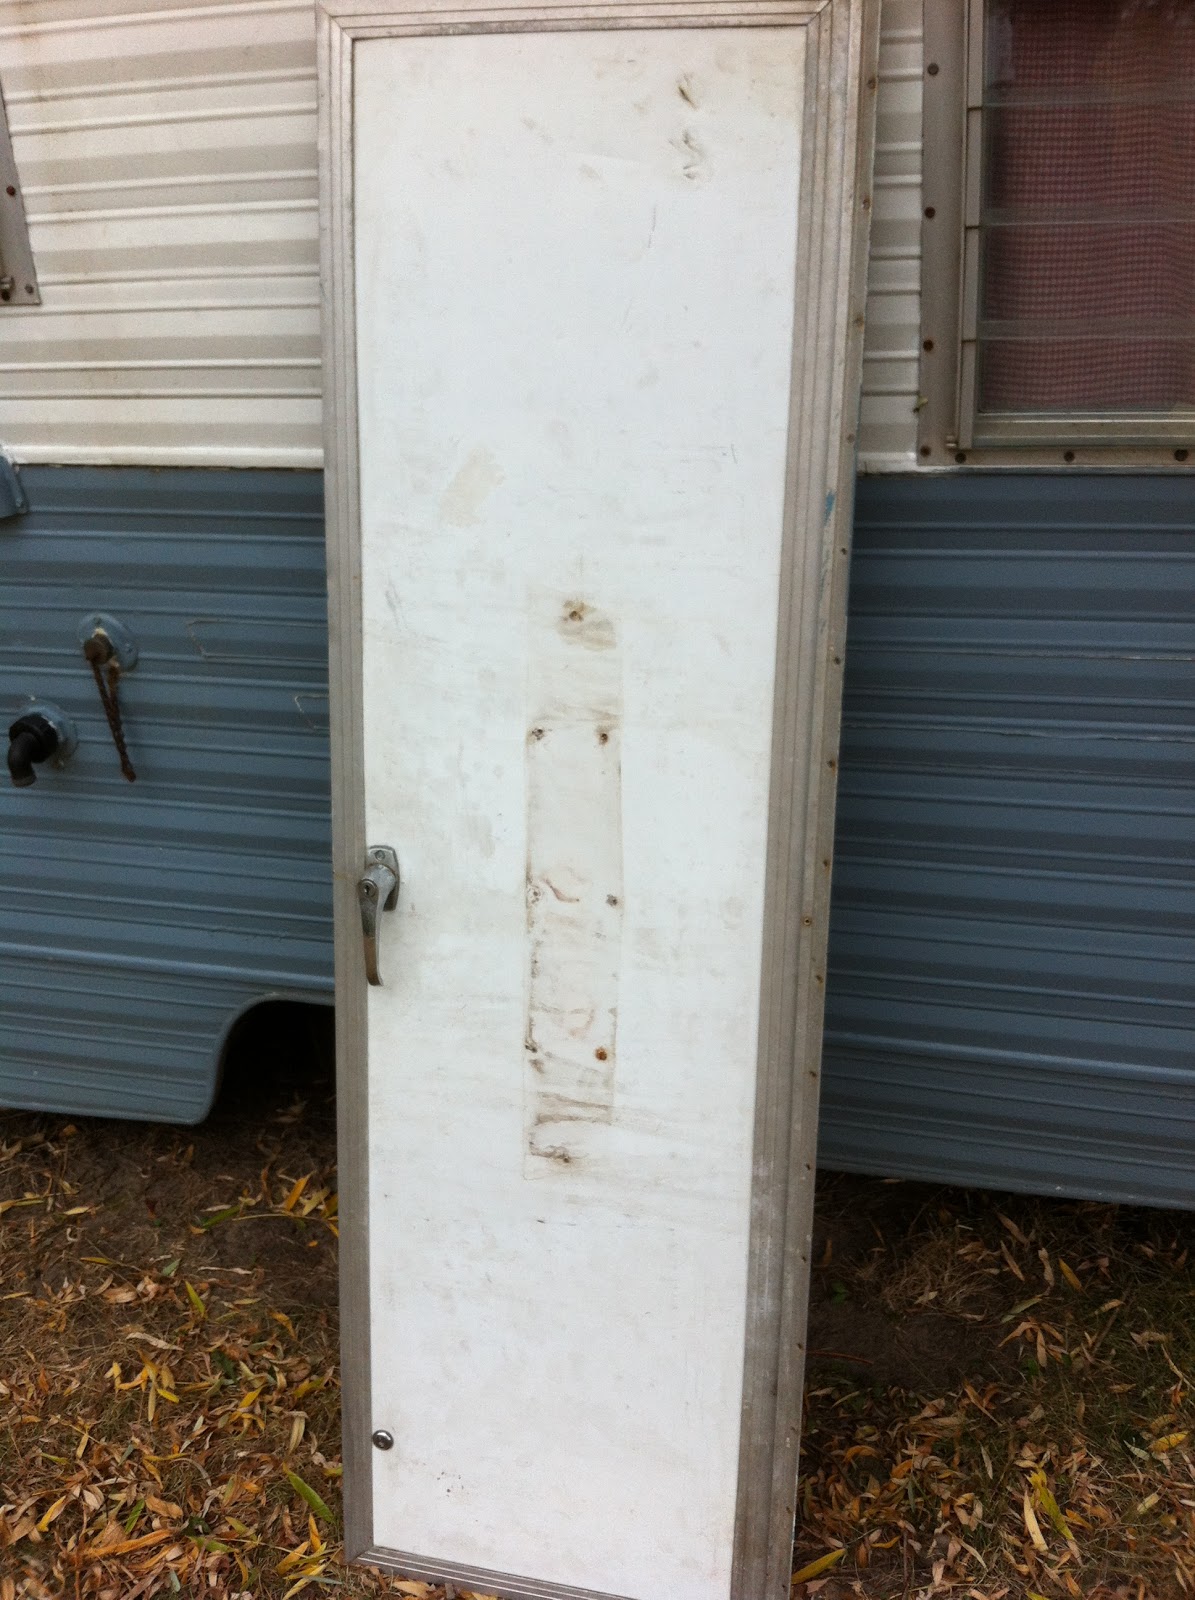
Below is the door, with the wood cross piece it should attach to. You can see how ragged the end is.
We threw the door up on some sawhorses and started to remove the hinge. It didn't come easily, and involved lots of hammering with a semi-hard mallet.
Once the hinge was off, we could see why it didn't slide off easily. It was filled up with 40+ years of gunk.
Next, we removed the edging all around the door. And at that point, it basically collapsed. The wood inside was completely waterlogged and crumbled into multiple pieces.
A better view of the wood. That glue wasn't doing anybody any good at this point.
We had to drill out the screws holding the handle on.
After measuring and cutting a new piece to mount the door to, we laid the old piece next to it. There is a pretty sizable difference between what should be there and what was there. Nearly a foot was missing from the street side of the camper.
This blog does not endorse mixing beer and power tools. Safety first.
We ran into trouble when replacing the interior wood. We measured what was in there, and decided to use 3/4" treated plywood. After buying a full, not cheap, 4x8 sheet and cutting it to size we discovered that 3/4" is too thick. I'm guessing the old wood had swelled, and was measuring larger than it should. We went back to Home Depot and picked up a sheet of 1/2" treated. We recut, and found that it was too small. But since it was getting later in the day and Home Depot didn't carry 5/8" treated, we made it work. But a word of advice to anyone trying this repair: 5/8" is the size you want.
Joel re-installs the hardware for the door handle.
The door, fully reassembled. I didn't add the "You're following an Aristocrat" badge back yet, because I'd like to see if I can get it looking a little nicer. I probably should have gone with new sheet metal, but I pounded out some of the dents, so it does look better than when we started.
The new door, fully installed. I added a second support chain on the street side, so now when the door is open it is supported evenly. Should reduce any stress torsion that would cause the door to loosen up again.
And closed. It seems to open and close much easier now, and fits the frame better because it's aligned and mounted to a non-rotted piece of wood. I plan to still use the wire secondary restraint system, at least until I feel comfortable that it won't flop open. Maybe once I get new lock cylinders. We don't have keys for either lock in this door, so they can open without warning just due to road vibration.
A closeup of the new chain. It's shinier than the old one.
This was a quick and dirty job, no question there. I would have done more, but after getting the support beam out and seeing the amount of rot, I know that this back end is going to need to come apart again in the future. So I'm going to leave the fancier repair until then, including doing some re-location of the rails on the side. I think this camper has a potential to be a real can of worms, and I want it to be in one piece, as we have another trip planned for this coming weekend.